Hello, these are visual instruction on how to make a cute lolita-style dress for 27cm Obitsu SBH small bust doll body. Patterns to make this dress are available for sale at my etsy shop. I will do my best to walk you through how to make this cute three-piece outfit complete with accessories for your doll.💖
My etsy shop name is Ruffled Crenellations
https://www.etsy.com/ca/shop/RuffledCrenellations?ref=l2-about-shopname
Basic sewing knowledge and terminology are recommended for using this pattern.
Please note: this pattern does not have seam allowance, so be sure to add some before cutting the pieces out.
Patterns will be available at my etsy shop soon as they are ready.
Supplies used for bodice:
- a needle & thread
- several pins
- sharp sewing scissors, big and small
- an iron and ironing board
- a pencil crayon or fabric drawing pencil
- printed cotton fabric
- cotton lace
- fabric glue
- a stick or skewer to spread and smear glue across fabric
- snaps or velcro
- string
For younger crafters, be sure to have adult supervision when working with sharp or hot tools.
Please note: Add seam allowance to all pieces excluding the panties, skirt, skirt ruffle, shirt yoke and all the shoe pieces.
Hand-stitching is recommended.
Pattern pieces are numbered for ease of comprehension of these directions.
Bodice
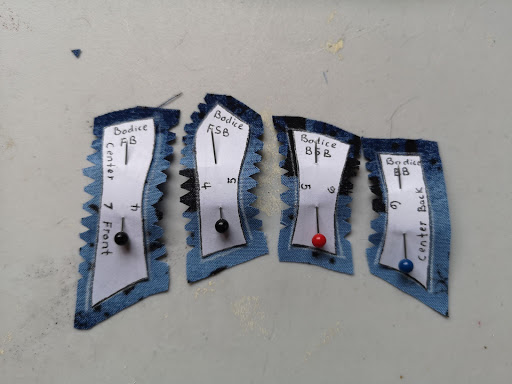
On the back side of your fabric, line up the pattern pieces leaving room for seam allowance. Pin and draw the outline of the pieces onto the fabric using a pencil crayon or fabric drawing pencil.
Carefully cut out all of the pieces.
The patterns are marked with a numbered guideline that indicates where to begin sewing.
Starting with the A side of the bodice, cut small darts on the numbered marked seam lines, being careful not to cut too close to the drawn line.
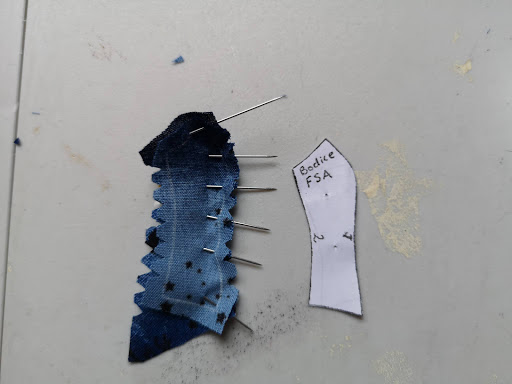
1- Facing the fabric good side to good side, pin seam line 1 to seam line 1.
Make sure the drawn seam lines match up on both sides and sew the two pieces of fabric together. As much as possible, try to sew with tiny backstitches because doll clothes are so small.
2- With the two pieces attached, proceed to pin & sew seam line 2 to seam line 2 with the good side to the good side.
Back
Front
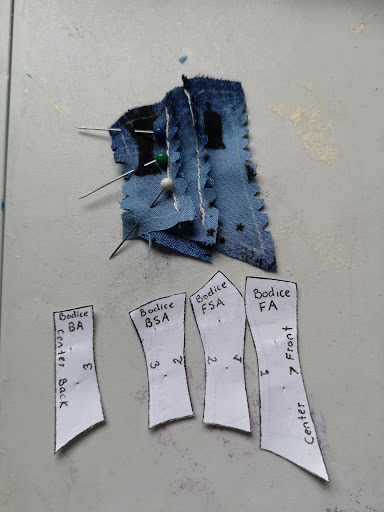
3- Pin and sew seam line 3 to 3, good side to good side.
Front
Back
All four pieces sewn together
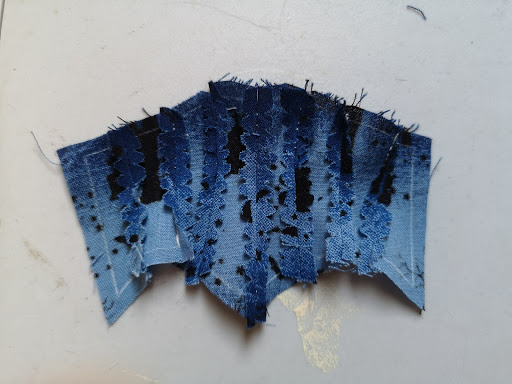
Open darted tabs (the fabric from the seam allowance) on the inside and carefully iron the piece into shape. This process is called finishing the seams and will keep the garment neat and give it its curvy bodice shape.
Outside of assembled piece A
Now repeat the process with the B side of the bodice.
Carefully cut small darts in the seam allowance on the numbered seam lines on the sides of the pattern.
5- Sew 5 to 5.
6- Sew 6 to 6.
Divide and iron the darted seams (finish seams).
Line up pieces A & B. Now they're ready to go.
7- Good side to good side, pin seam line 7 and 7 centre front together.
Then sew the seam.
Dart the seam allowance.
Open it back up.
Iron (finish seam).
Front
Flip the piece over to its back. Cut darts along the seam allowance at both the top and bottom of the bodice.
Fold in the top darted seams down to back side of the bodice & iron.
Fold in the bottom darted seam allowance & iron.
Fold in the seam allowance along centre back line & iron.
Glue or sew along the edges of the bodice to secure everything in place and make it look neat and tidy.
Front
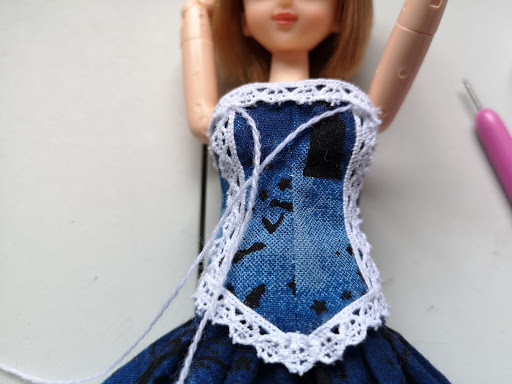
On the good side of the bodice, sew or glue lace along seam lines 1 and 4.
Sew or glue more lace along the top and bottom edges of the garment.
Fold the ends of the lace behind the bodice and sew or glue them down.
The bodice is nearly complete. Add snaps or velcro along the centre back.
I used three for the bodice and two for the skirt.
Try the garments on the doll and check for any required adjustments.
Both the bodice and skirt should be a little bit roomy to enable the blouse to fit in underneath later.
I'm going to add some optional detailing to the bodice.
Cut two long pieces of string and glue the ends under the lace at the top corners of the lace. Allow the glue to dry.
With aid of a needle, I weave each of the pieces of string through the lace holes at opposite sides, then tie a little bow with the ends, giving the bodice the appearance of a laced corset.
All done!💗












No comments:
Post a Comment