Hello, these are visual instructions for making a cute lolita-style dress for 27cm Obitsu SBH small bust doll body. Patterns are available for sale at my Etsy shop. I will demonstrate how to make this cute three-piece outfit complete with accessories for your doll.💖
Etsy shop name: Ruffled Crenellations
https://www.etsy.com/ca/shop/RuffledCrenellations?ref=l2-about-shopname
Basic sewing skills and some knowledge of terminology is recommended for using this pattern.
Note: this pattern does not have seam allowance, be sure to add some before cutting pieces out.
Patterns will be available at my Etsy shop as soon as they are ready.
Supplies used for skirt:
- a needle & thread
- a ruler
- some pins
- sharp sewing scissors, big and small
- an iron and ironing board
- a drawing tool
- printed cotton fabric and cotton lace
- thin white cotton fabric or lace
- snaps or velcro
For younger crafters be sure to have adult supervision when working with sharp or hot tools.
Note: Add seam allowance to all pieces excluding the panties, skirt, skirt ruffle, shirt yoke and all shoe pieces
Hand-stitching is recommended.
Pattern pieces are numbered for ease of comprehension of sewing instructions.
Fabric, fabric glue, sewing stuff... All right, let's get started.

Let's start with making the skirt bottom. Cut two pieces, one 7cms width & 29cms length and the other 3cms width & 45cms length.
Take the long narrow piece, fold it in half with good side out, then iron it. Please exercise caution when using an iron due to inadvertent damage it may cause to nearby delicate or temperature-sensitive items.
Use a drawing tool to mark a line across the bottom on the good side of the fabric. This will serve as a guideline.
8- Find the centre of both pieces and pin the pieces of fabric together to mark the spot with the larger piece behind the long, narrow piece.Line the raw edge of the longer narrow piece up along the guideline drawn on the larger piece.
Make sure there is a little bit of fabric from the larger piece sticking out on top. This will be used later to add lace or a second ruffle underneath.
8- Using a straight stitch, gather the fabric and pin it across the drawn line.
8- Now that we have it gathered with a little bit of fabric from the larger piece sticking out on top, use a backstitch and sew overtop of the straight stitch, attaching the two pieces together.
8- When the two pieces are sewn together it should look more or less like this.
View of the back of the sewn pieces
9- Optional: 3cms width lace for under row.In this tutorial, however, I chose to use a thin cotton fabric and pleat it to give the appearance of an underskirt.
9- I cut white fabric 6cms width & 92cms length.
9- Fold the fabric in half with the good side out and iron it flat.
9- Fold, iron and pin each pleat.
A view of the back of the pleats
9- Once there are enough for the entire bottom length of the skirt,
9- line up and place the white fabric above the ruffle that was added previously (8).
9- Pin the white fabric to the extra bit of fabric that is sticking out above the ruffled fabric.
9- Flip the piece over to its back with the second layer of ruffle now pinned and ready to go.
9- Cut off any extra fabric sticking out past the edge of the skirt that might be left over from making the pleats.
9- With a backstitch, sew across above the previous sewn line.
9- Now that the pleats are stitched securely on, flip the piece over.
9- Turn the frilly, ruffled front over
On the good side, add lace across the piece above the two ruffled layers.
Once the lace is all pinned, sew across the piece to attach it. Now let's set the skirt bottom aside and proceed to the next step.
Add seam allowance and cut two skirt yoke pieces, one from the primary material and one from scrap fabric (interfacing).
Line them up good side to good side and pin the two pieces together.
Sew along the numbered pattern line, leaving the bottom open. Sew 10 to 10, 11 to 11, then 12 to 12. I sew with backstitch but this part can be done with straight stitch.
Back view
Cut darts along the top of the seam allowance.Note: be sure not to cut too close to the stitched line.
Flip the skirt yoke right side out and iron it flat.
13- On the yoke, find the centre of the raw-edged bottom opening and mark it with a pin.Take the skirt bottom, find the centre of the top of that piece and mark it with a pin as well.
13- Line the pieces up good side to good side and pin them together.I also marked a line with a drawing tool near the open bottom of the yoke into where I will soon be stitching to serve as a guideline.
13- Flip the pieces over to their back, fold in a little bit on both sides and pin the fold in place.
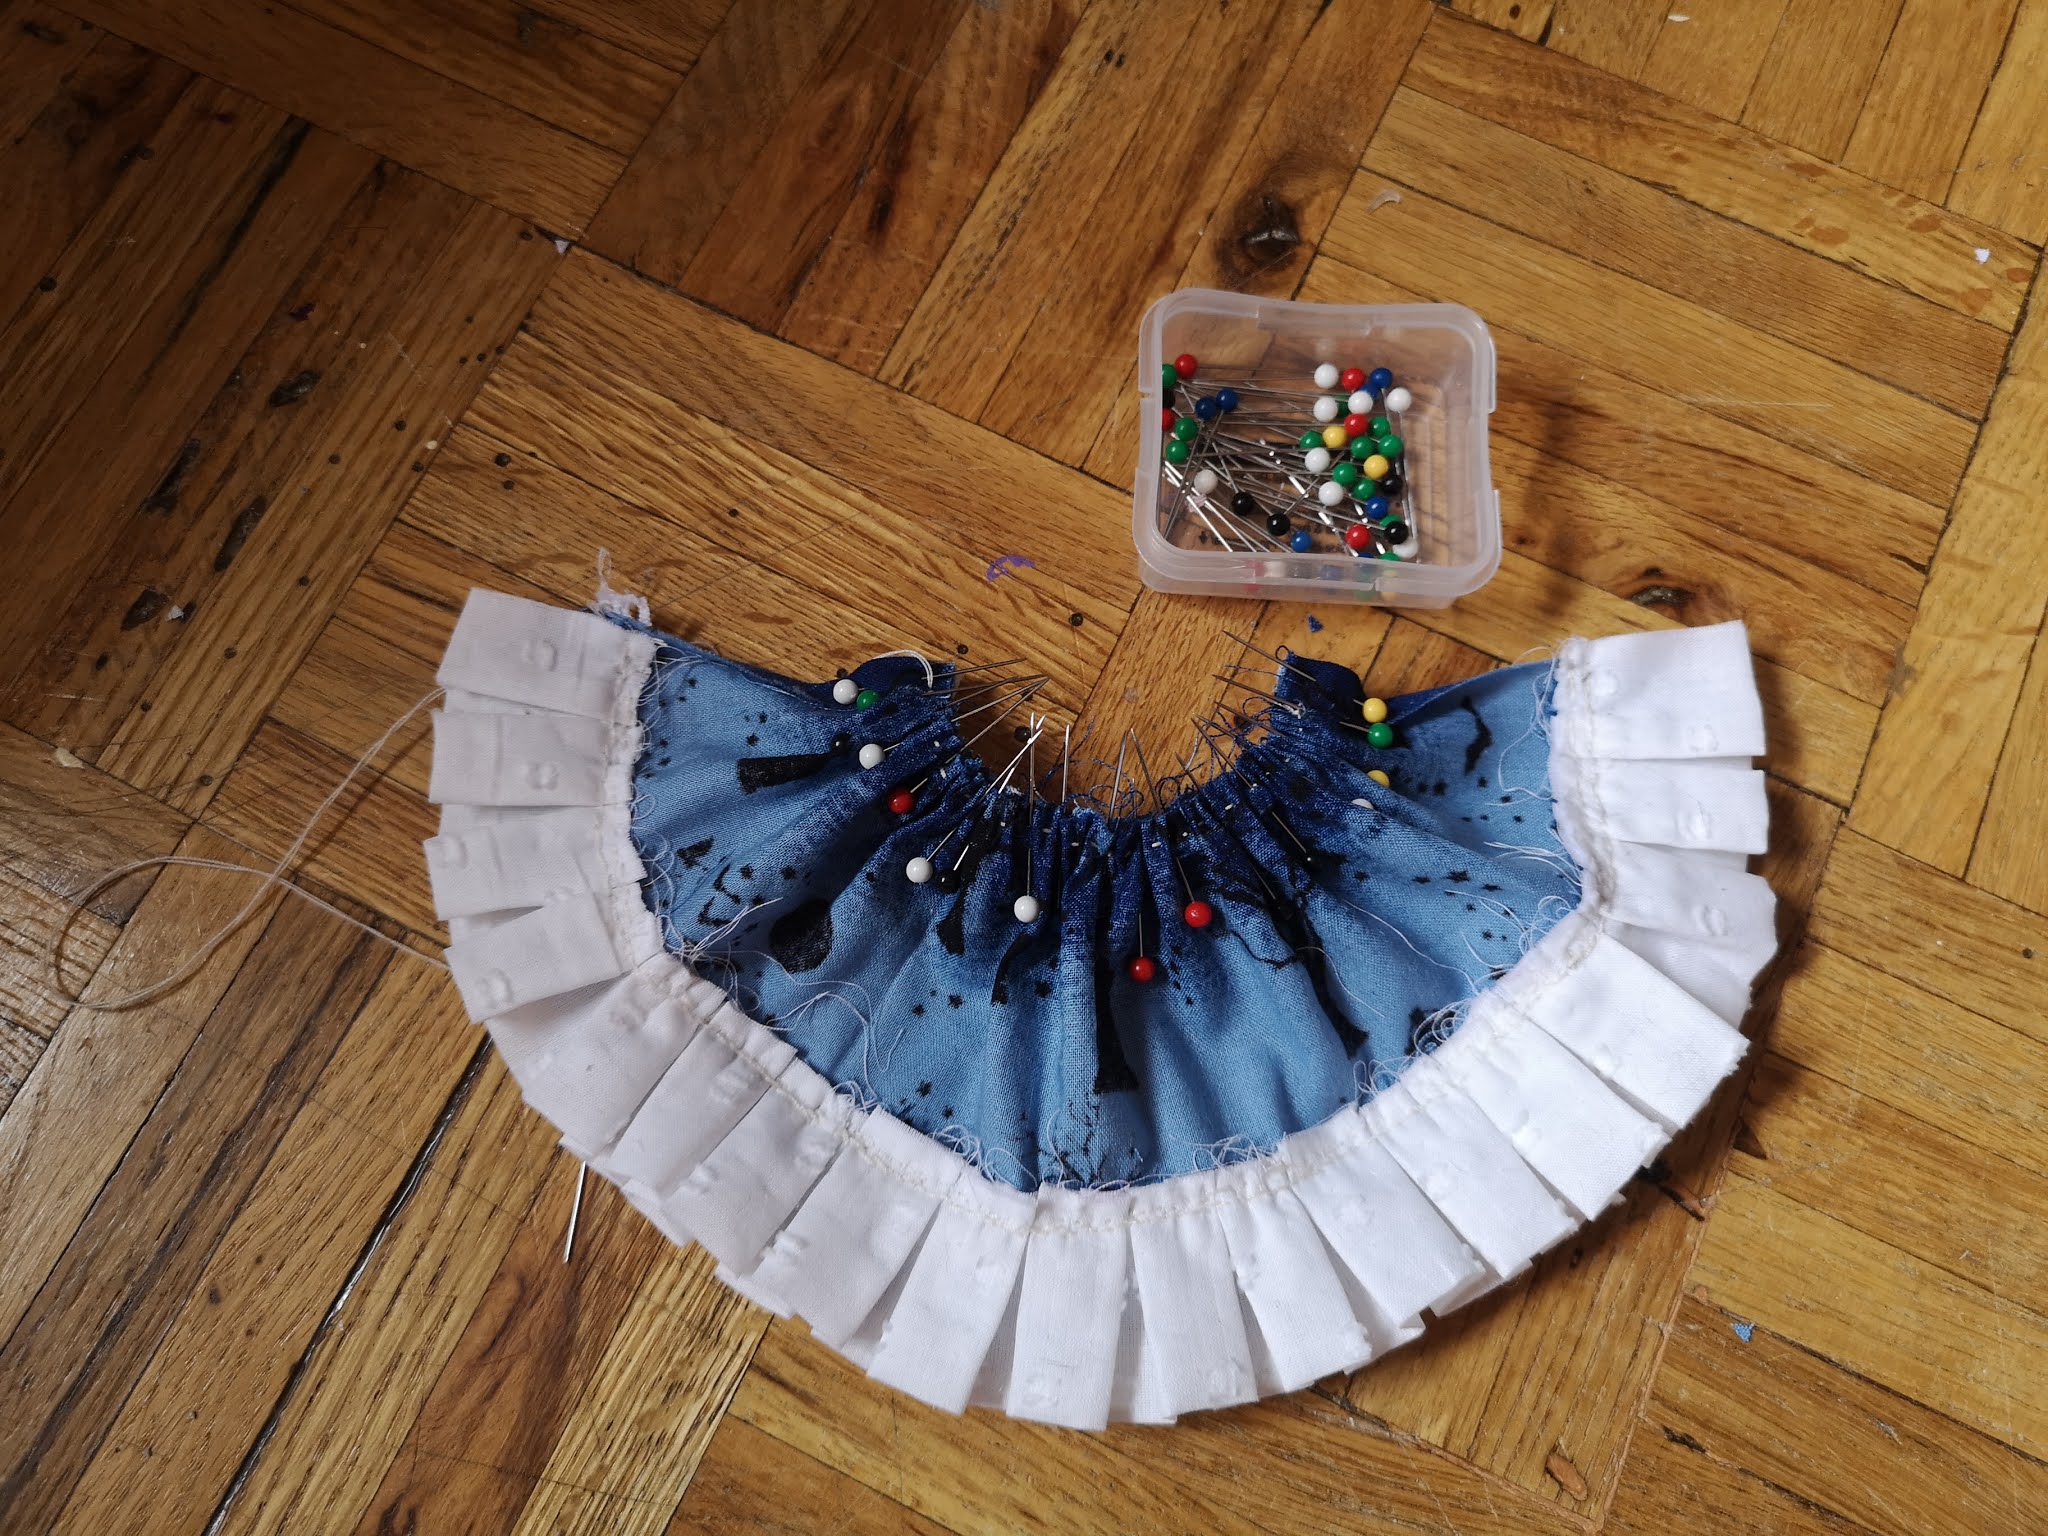
13- Gather the top of the skirt with a straight stitch and pin it to the yoke.
A view of the pieces pinned together
13- Flip the piece back over.
13- With a back stitch, stitch across on the guideline (seam line).
A view of the pieces all stitched together
It's looking more like a skirt now
With the inside facing out, fold it in half to the back opening and pin the ends together. Next, stitch from the bottom ruffles to about halfway up on the back of the skirt.
Please note: leave enough of an opening at the back for the doll's waist to be able to fit through.
A view of the skirt all stitched up
Remove the pins and flip it back to good side out.
Front view
Back view
Add snaps or velcro to the back opening and congratulations, the frilly skirt is all done.


No comments:
Post a Comment