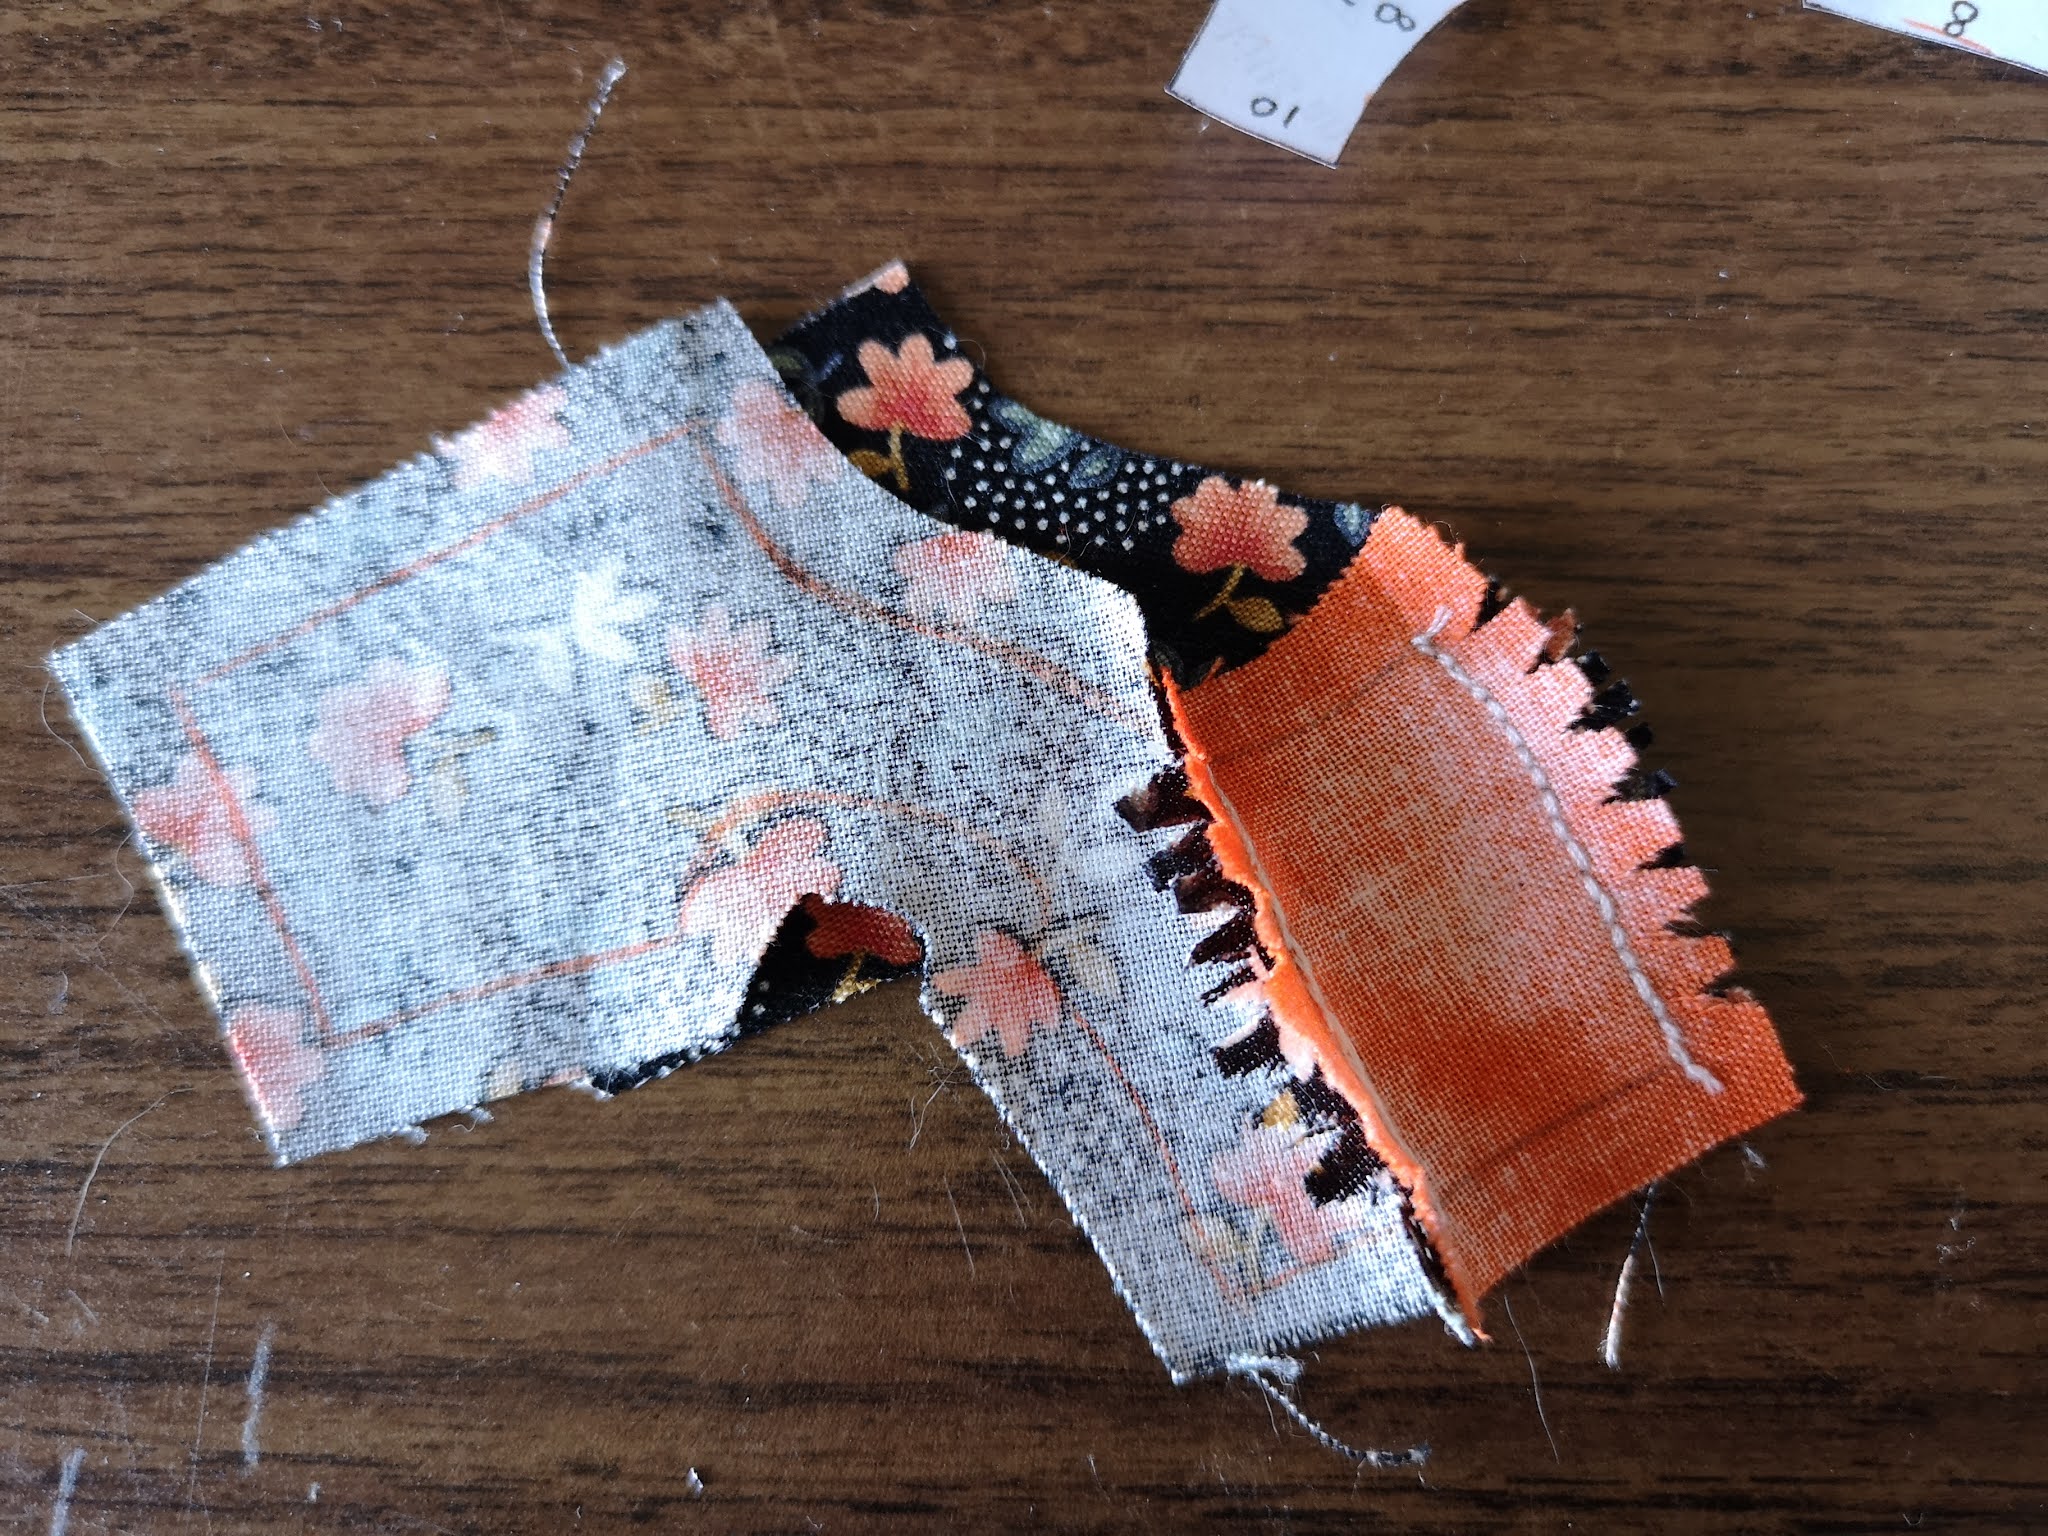
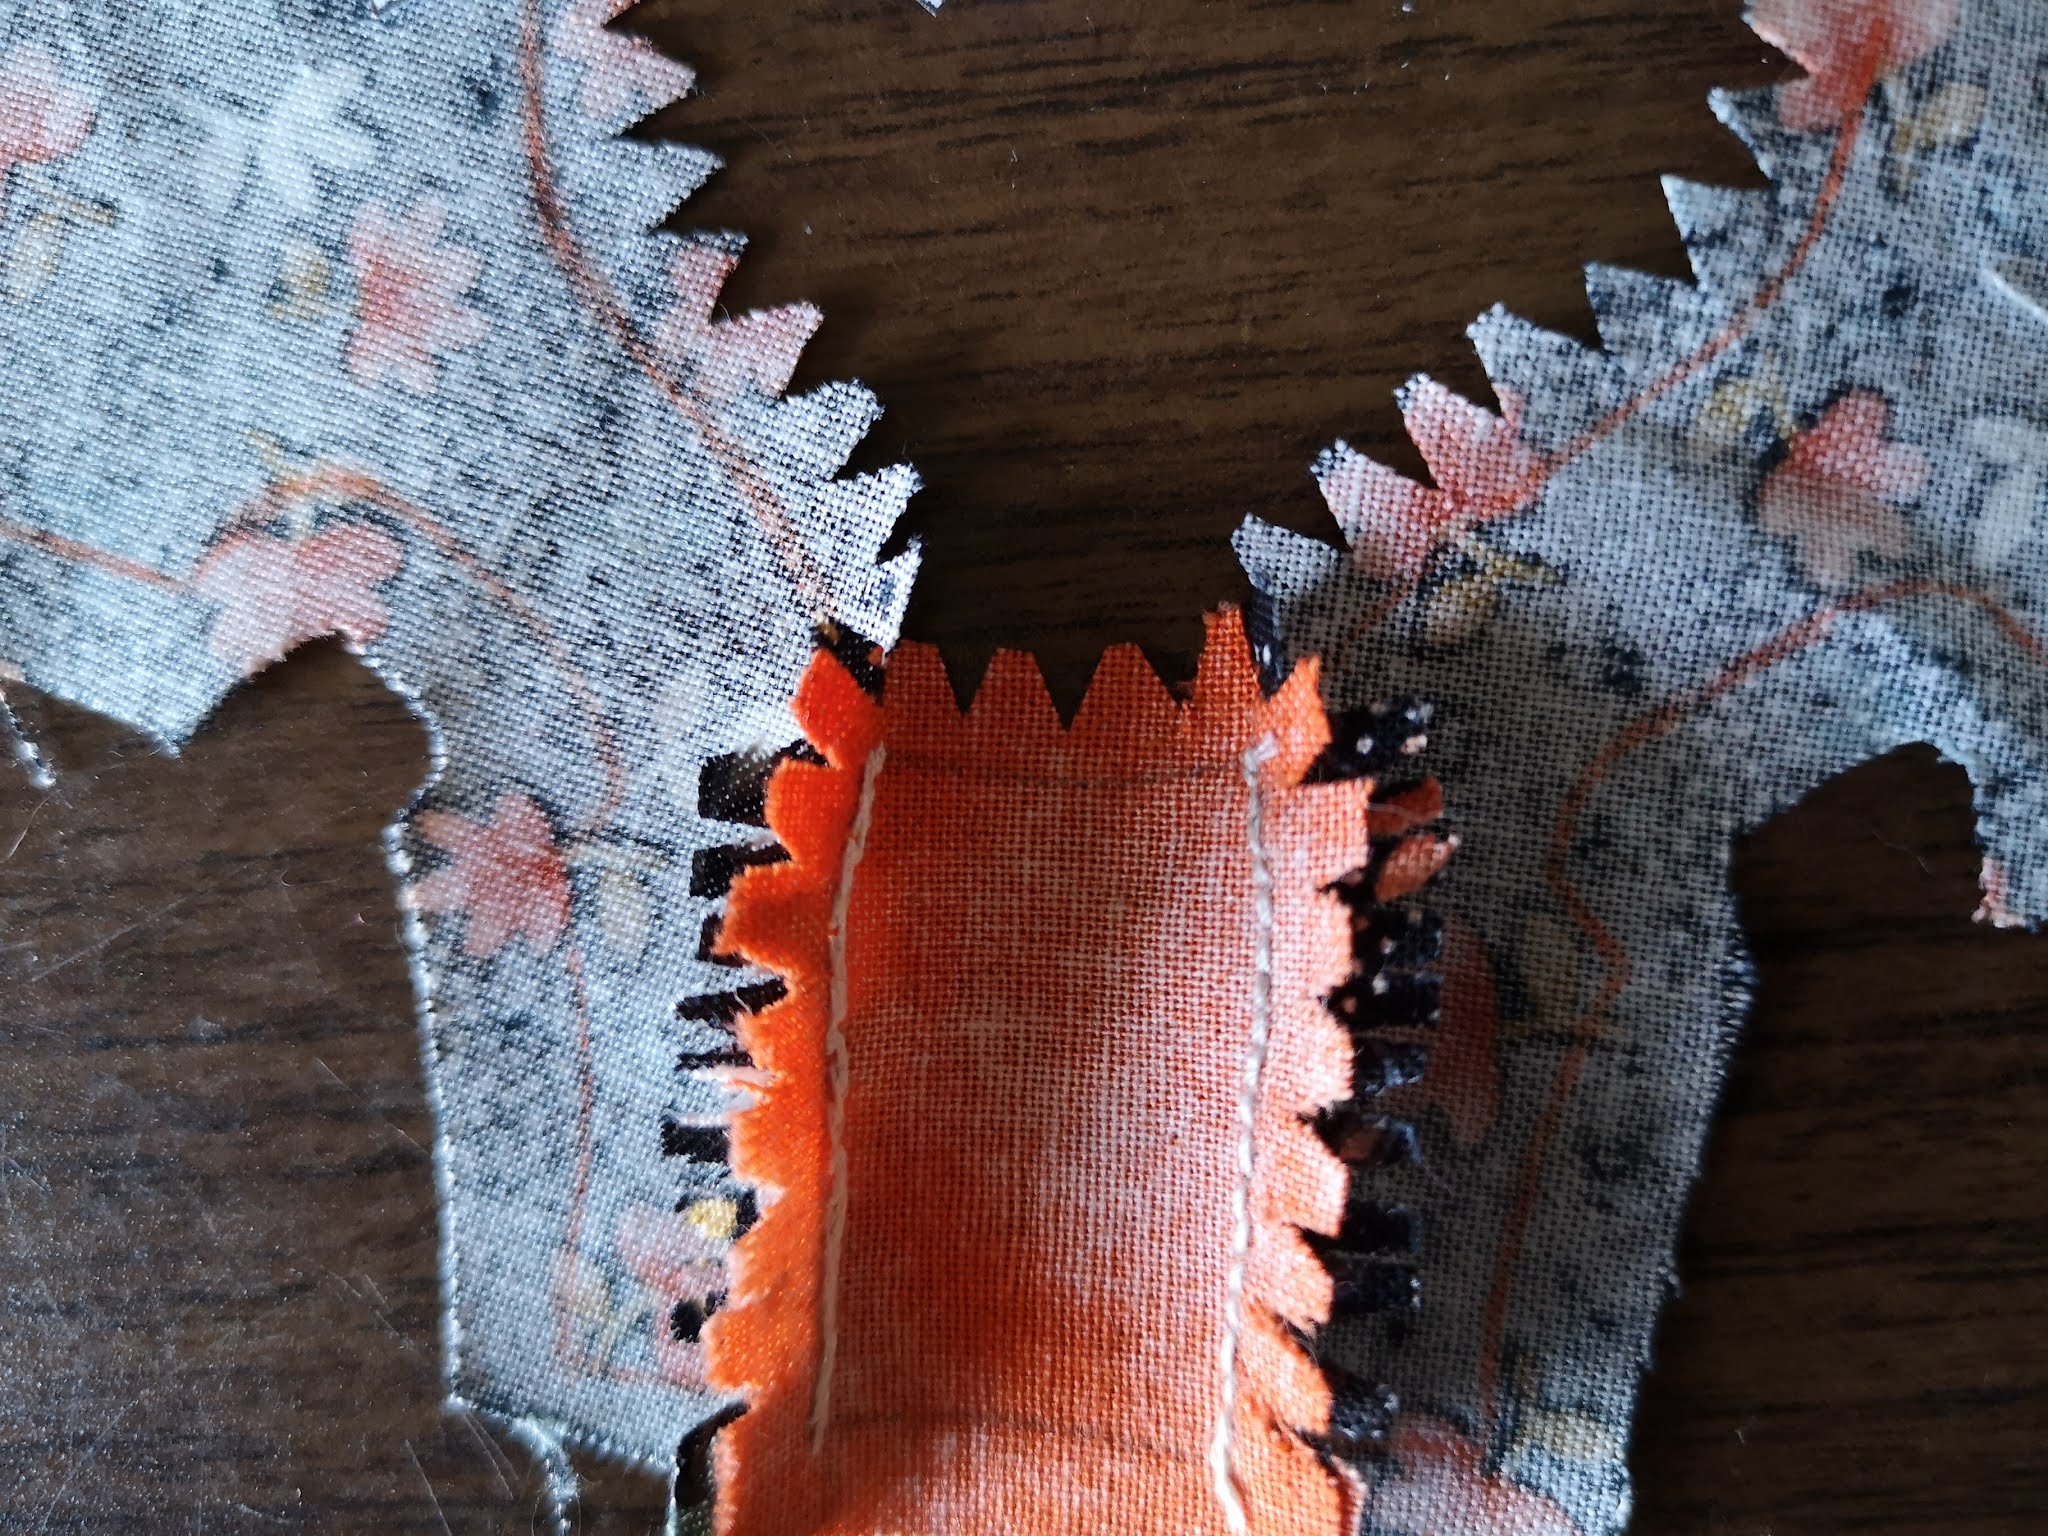
Trace the pattern pieces out on the back side of your selected fabric
with a pencil, leaving seam allowance.
Cut notches in the seam allowance on the sides that are marked 5.
Be sure not to cut too close to the drawn seam line 5.
5- Pin along the drawn seam line marked 5 on Bodice B Front to seam line 5 on Bodice B Side for the left side.
Be sure your marked lines line up on both sides
and sew.
Now repeat step 5- for the right side.
Pin on the drawn seam line marked 5 Bodice B Front to seam line 5 on the Bodice B side for the right side.
Be sure the lines line up on both sides
and sew.
Now all three pieces for the Bodice Front B are assembled.
Cut notches along the neck shoulder line seam allowance
and also cut notches in the seam allowance at the top of the bodice front.
Separate and press the seam allowance with an iron to make a finish the seams for the inside of the bodice,
then turn in the seam allowance along neck line and press it with an iron.
It should look like this on back side
and this on good side.
Sew along the neck line with a small backstitch or
use fabric glue to glue the notches down.
Allow the glue to dry.
Fold the back opening tabs in and sew or glue them down.
I'm choosing to decorate the bodice with lace. This can easily be accomplished at this stage by sewing or gluing the lace on top along seam line 5 on the front side of the bodice and along the neck line, stopping at the back opening, and gluing or sewing the excess lace down to back side of the bodice
like this.
Repeat step for the other side.
Allow the glue to dry if glue was used.
Flip the piece over to its back side.
Cut notches in the arm hole seam allowance
and then put the piece aside for now.
Now on to the sleeves. Please make sure to leave seam allowance for the sleeves when drawing those pieces out on your fabric, but none for the sleeve cuffs. Cut out the pieces.
Fold each sleeve cuff in half along the dotted pattern line and press them with an iron.
Mark the centre line on the sleeve bottom.
Mark the centre with pins on the sleeve cuffs.
6- Pin the pieces together good side to good side with the sleeve bottom and cuff together
with their raw edges facing out.
Gather the sleeve bottom with a straight stitch and finish pinning it fully to the cuff.
Sew across with a straight stitch or backstitch.
Turn the cuff out.
The sleeve is now ready to be sewn to the sleeve opening on other piece.
7- Good side to good side, line up the drawn centre dart line to the centre marked arm hole and pin the two pieces there.
Gather the upper sleeve piece with a straight stitch that extends the length of the arm hole opening marked 7 on the pattern.
Pin the pieces into place, making sure the drawn seam lines match on both sides and sew along seam line 7.
With one sleeve on, now we repeat the process(7) for the other.
Flip the piece over to its back side.
8- On the back side of the fabric, pin seam lines marked 8 back side to front,
as well as the seam lines marked 8 on the sleeves.
Pin the other side of the piece in the same manner.
View of the back
Sew on seam lines marked 8 for both sides
View of the back opening
Now that the bodice is fully sewn, turn it right side out.
Put the finished bodice piece aside for now.
For the skirt, cut two pieces of fabric;
one 26 cm in length & 8 cm in width for the skirt
and one 45 cm in length and 4 cm width for the ruffle trim.
9- On the skirt bottom piece, fold in a bit of the fabric on bottom to its back side and press it with an iron.
Fold the other piece along its dotted centre line with its good side facing out, then press it with an iron.
Find the centre on both pieces and mark them with pins.
On the open edge of the bottom piece, gather the piece with a straight stitch to the length of the skirt bottom.
9- Pin the pieces together at the back bottom.
Flip it over to its good side.
Use a backstitch to sew the two pieces together.
When done it should look something like this.
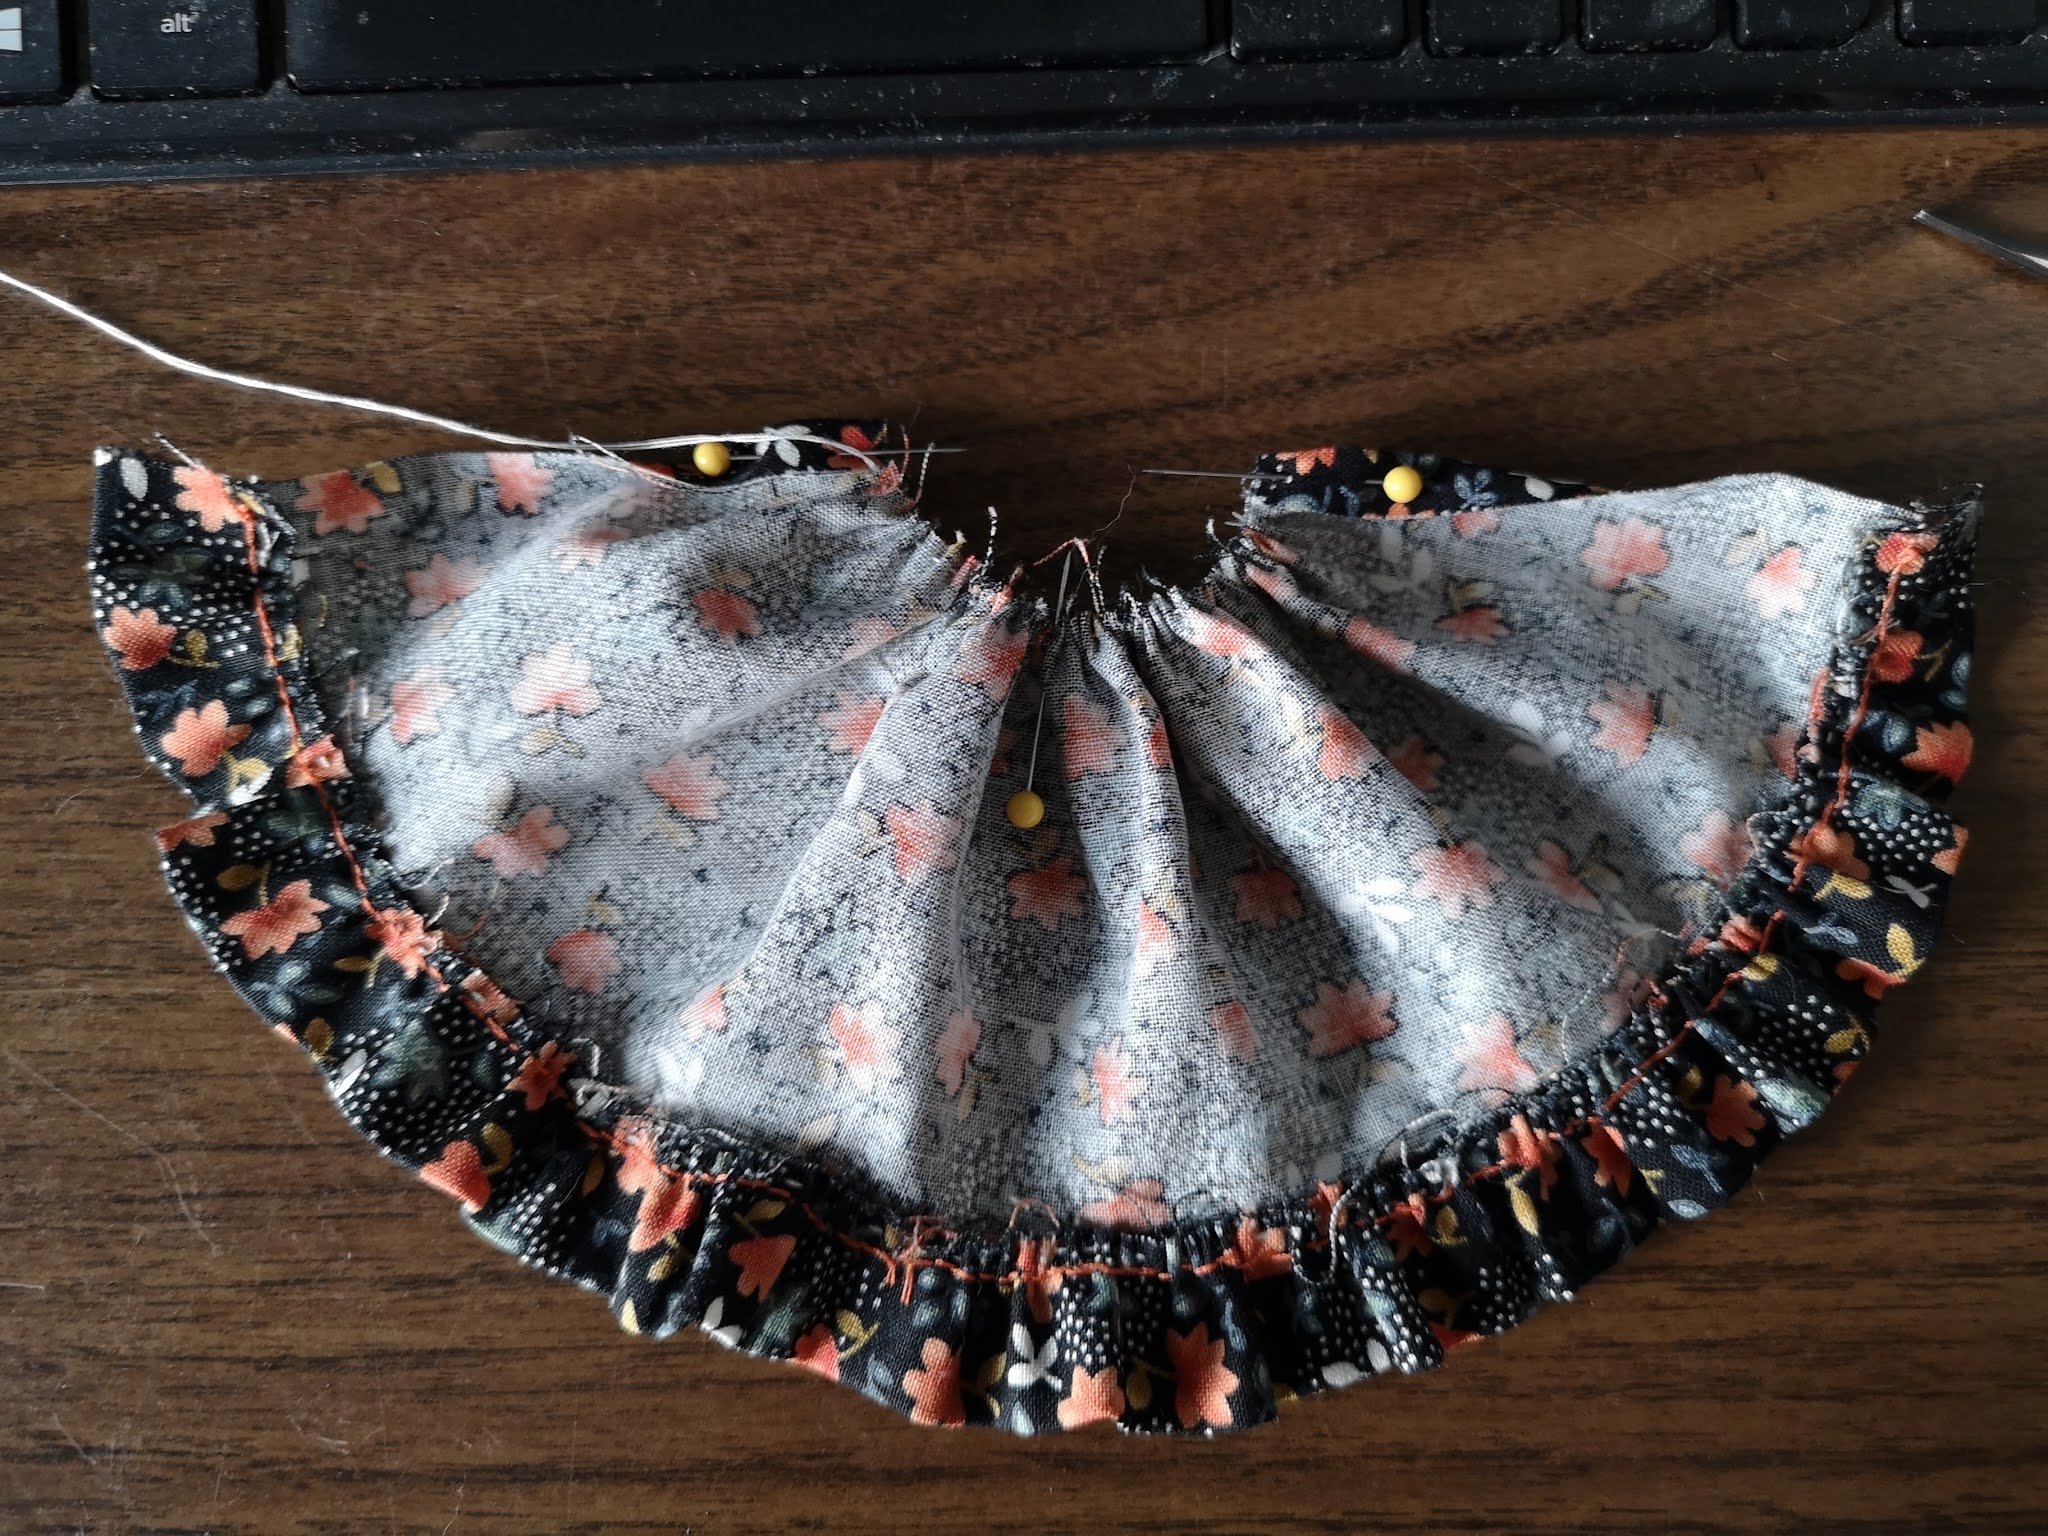
10- Flip the piece over to its back side, then mark the centre point with a pin and fold a little bit of fabric back at the sides and pin it in place.
like this.
Use a straight stitch to gather the skirt top to match the the bodice bottom.
Find the centre point on the bodice bottom and mark it with a pin.
Flip the pieces over to their good sides.
Good side to good side, pin the seam lines marked 10 on skirt pattern to the bodice.
The two pieces are now fully pinned together.
Now sew the two seam lines together
like this.
Flip the piece over.
Pull the bodice up.
We're almost done now.
11- On the back side, pin the lower back opening of the skirt
and sew it, making sure there is enough space for the doll's hips to pass through.
When finished, turn the piece back right side out.
Time to add some snaps or velcro to the back of the garment.
Decorate with some string or ribbon
and you're all done!